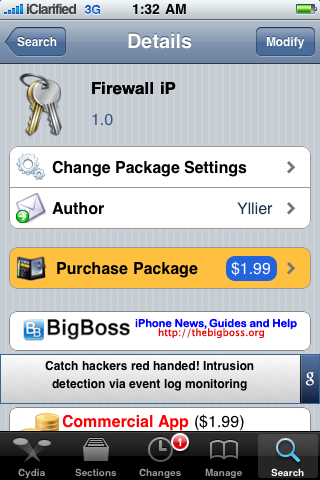
Firewall iP is a new application available from the Cydia Store. It will alert you when an iPhone app wants to establish a connection to a host and show you the hostname. Then you have the options to allow/deny the connection once/always or allow/deny all connections for the application.
Step One
Download and install Firewall iP from the Cydia Store if you do not know how to do this you can find a tutorialhere. The app is available for $1.99.
Step Two
To begin to use Firewall iP we will need to monitor some outgoing traffic. Lets begin by opening a popular iPhone game reMovem (free).
As soon as the app launches, Firewall iP will monitor its network activity. When the app tries to make a connection to an external location Firewall iP will inform you of this.
A popup will appear similar to “this app tries to contact: mob.adwhirl.com”. You are now given the option to Allow once, Deny once, Always allow, Always deny, Allow all connections, and Deny all connections.
Since this is the free version of the reMovem app and the connection location indicates an adserver, we can assume that the app is trying to load an ad to display. Lets click the Deny once button to block the connection just this one time. The app may try to establish a connection multiple times and to contact different ad servers such as mm.admob.com, ad.qwapi.com, etc. Press the Deny once button till the prompts stop appearing. Notice the toolbar says reMovem free.
Now press the Home button then relaunch reMovem (free). This time lets press Always allow for mob.adwhirl.com, mm.admob.com, ad.qwapi.com, etc. Now when the app loads you will notice the toolbar has a nice little ad in place of the words reMovem
When using a free application you may get prompted again to confirm outgoing connections. If the application is from a trust worthy developer you can use the Allow all connections button to approve all outgoing connections for the application.
Remember developers who make ad supported applications depend on this advertising revenue. Please do not block the traffic which supports their work.
Step Two
Let us try to monitor some outgoing traffic of a paid application; for example, Snapture.
Launch the application from your Springboard. The app first tries to establish a connection to snapturelabs.com. This could be a valid connection which checks for updates or similar. Lets press Always allow for now.


Following this connection attempt Snapture tries to connect to beacon.pinchmedia.com and analytics.localytics.com. These connections are likely to collect usage and user data. To prevent these you could press Always deny or if you want to prevent all outgoing connections you can press the Deny all connections button.
Step Three
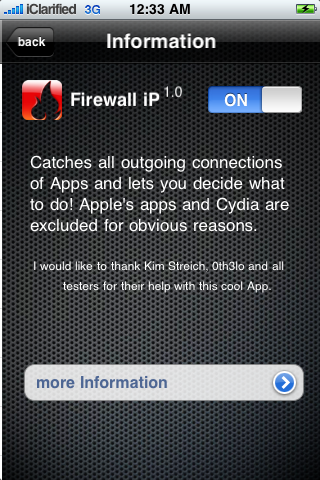
By default Firewall iP is enabled after installed. To turn on and off the firewall simply press to launch Firewall iP from the Springboard then press the i at the top right of the screen. You will see a switch which can be used to turn on and off Firewall iP.
Step Four
You can also manage rules you have already set in place from the Firewall iP application.
The main screen displays a list of applications for which rules have been set. Press to select an application from this list.
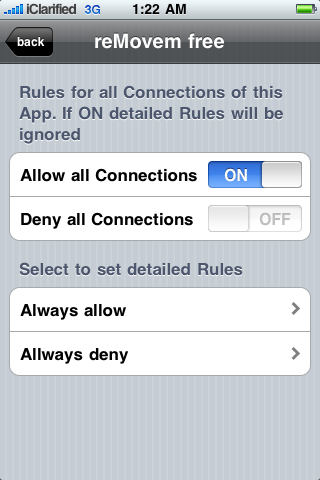
You will notice two switches. One switch will allow all connections for the app. The other will deny all connections for the app. There is also two buttons. One displays all the always allow rules. The other displays all the always deny rules.
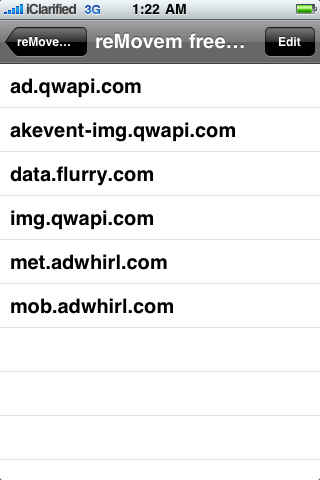
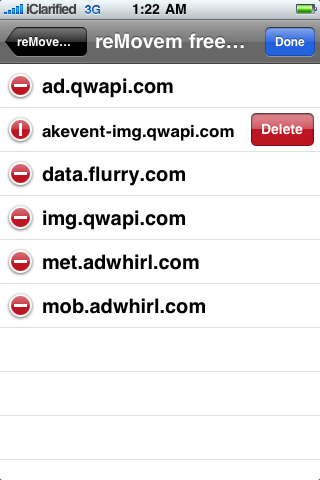
Press to select Always allow to view its list. To remove a rule from the list simply press the Edit button at the top right of the screen then press the delete icon to the left of the rule you would like to remove. To confirm the removal press the Delete button then press the Done button at the top right to exit edit mode.
To override the individual rules just switch on the Allow all connections or the Deny all connections toggle.
Step Five
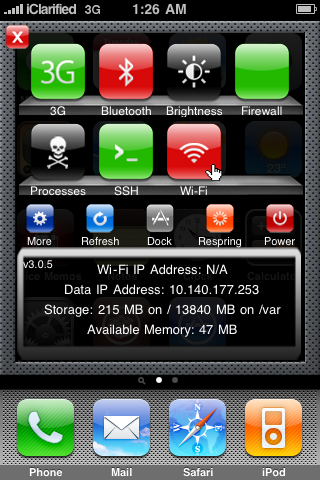
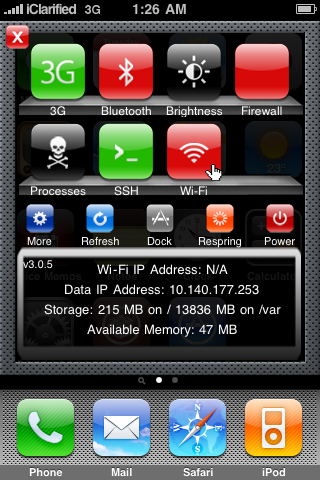
Firewall iP can also be easily enabled or disabled using a SBSettings toggle.


