Mastery of the iPod Starts Here
Create Custom Jailbreak Firmware 3.1.3 – Using PwnageTool 3.1.5 [Mac]
The iPhone DevTeam just released an update for PwnageTool. With this tool you can create a custom 3.1.3 firmware, which you can use to upgrade your iDevices , and still preserve the baseband. If you used Blacksn0w to unlock your iPhone in the past, this tool will not help you, because you already updated your baseband ( even though not to the latest version ) , and all the other unlocking tools will not work. Also, PwnageTool will not downgrade your baseband.
Just to be clear:
- Firmware 3.1.3 updates the baseband to 05.12.01 . No tool will unlock this baseband at the moment, and you can’t downgrade either
- Firmware 3.1.2 updated the baseband to 05.11.07 and you could unlock it using blacksn0w.
- All other previous baseband versions are compatible with ultrasn0w.
- if in the past you used custom firmwares and your baseband is still at a version prior 05.11.07 , you can use PwnageTool 3.1.5 and unlock it with ultrasn0w.
- If you used Blackra1n, updated the baseband to 05.11.07 and unlocked it with blacksn0w DO NOT use pwnagetool 3.1.5. It won’t work. Just stay on firmware 3.1.2
- If you updated to firmware 3.1.3 and got the latest baseband ( 05.12.01 )… tough luck. You are stuck!!!
- iPhone 2G/EDGE
- iPhone 3G
- iPhone 3Gs, old bootrom
- iPod Touch 1G
- iPod Touch 2G, old bootrom
NOTE: the tutorial below is from the previous PwnageTool release. That’s why you might see different firmware versions in the attachments. The process is exactly the same though, and if needed it was updated. Pictures are just a visual walkthrough. Read the text.
What do you need:
- PwnageTool 3.1.5
- original 3.1.3 firmware – download here
- iTunes
1. Load iTunes and sync your iDevice so you can backup. If you dont want to backup with iTunes, you can to it manually…
2. Download and load PwnageTool 3.1.5. You will get a pop-up window, click OK

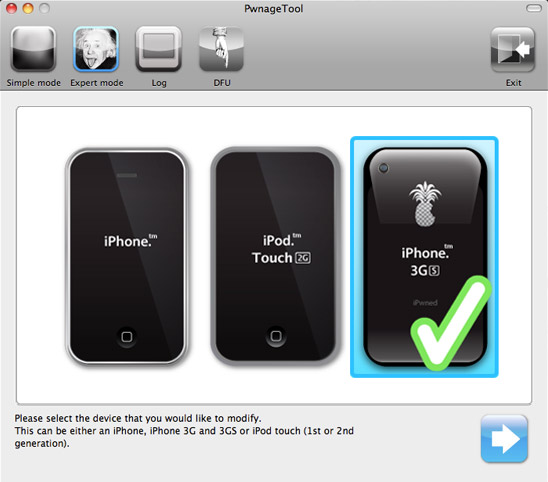
3. Click on expert mode button, select your device and click on the blue arrow to continue.
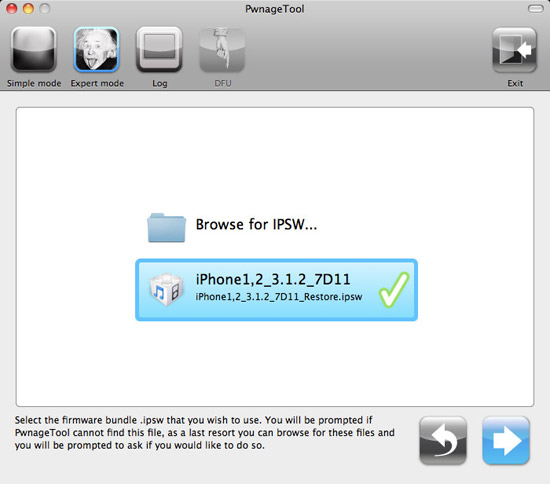
4. In the next window, you will need to select the original firmware 3.1.3 for your device. PwnageTool will find it for you, but if it fails that task, click browse and look for it manually.
5. In the next window select “General” and lets start customizing the firmware

5.1. In the next screen adjust the size of the partition or leave as it is and click on continue.
NOTE: Deselect Activate if you have an iPhone 3G/3Gs legitimately activated on an official carrier.
NOTE: You may need to increase the size of the root partition slightly. My first attempt failed at creating the IPSW until I increased the size to about 695 MB.

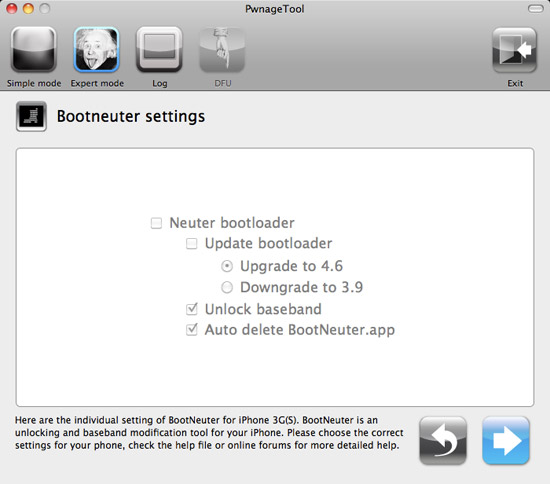
5.2 Bootloader screen is only available for iPhone EDGE so if you are on 3G/3Gs or iTouch you ignore this screen
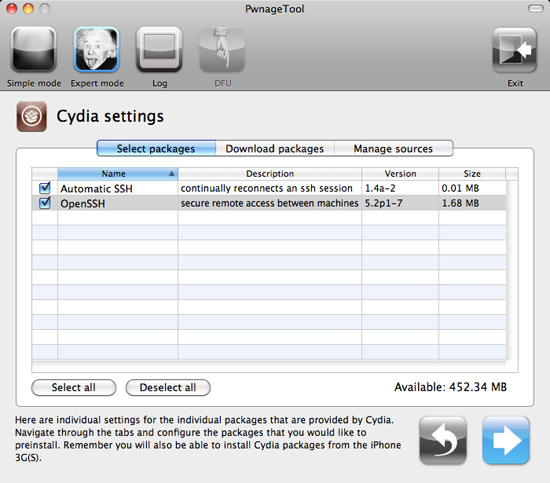
5.3 In the next screen you can add repositories and install any appolication that you want so when you restore your iDevice it will already be full of everything you need. To do this, first go to “Manage Sources” and add all the sources that you want. Now go to the “Download Packages” tab, refresh the list and select the apps that you want to be install and click on “Add to queue”. All the apps will be displayed in the “Select Packages” tab. Make sure everything is right and than click on the blue arrow to continue
5.4 In the next window you have the option to install Cydia and Icy or just one of them.
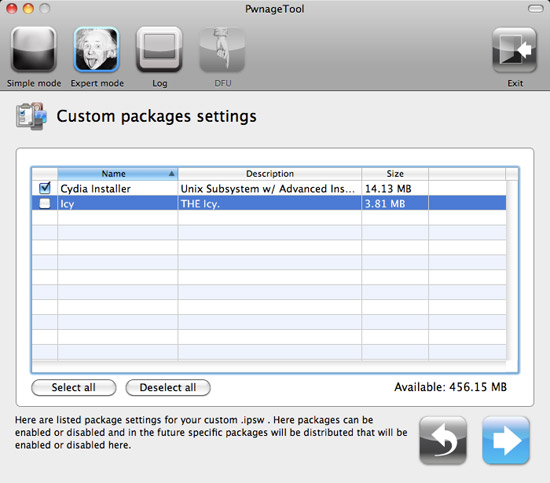
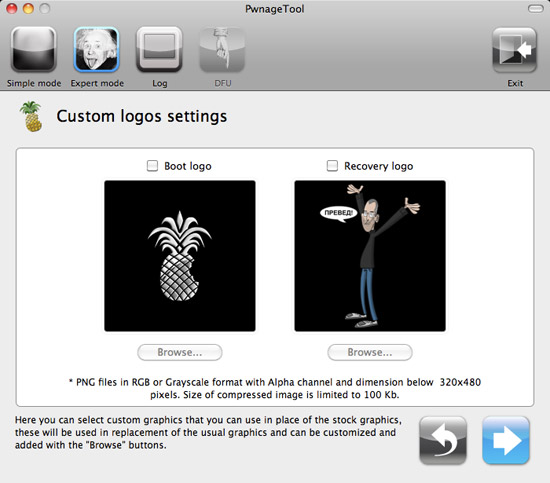
5.5 Now you can choose the boot and recovery logos. Go with the default ones, browse for your own or use no logos
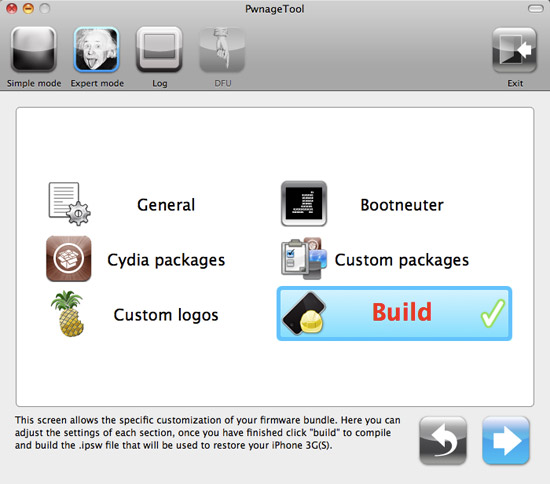
6 Now select “Build” and than click on the blue arrow to continue and start creating your custom firmware
6.1 Now you will be asked where you want to save the custom firmware. Choose your path and click on Save
7. Now wait until the custom firmware is built and saved on your computer
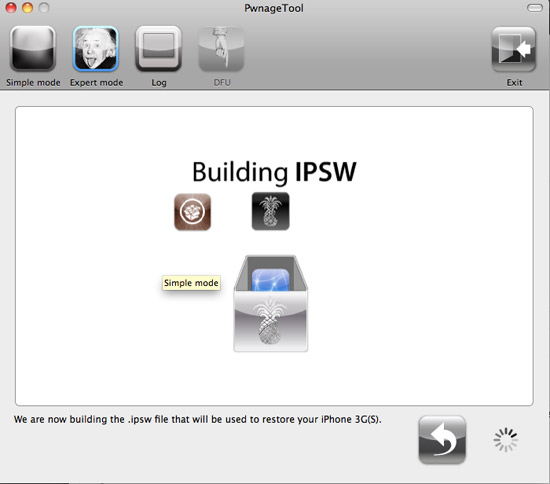
8. After the custom fw is built it will ask you if your device was pwned before. Click NO
9. Now it’s time to put the iDevice into DFU mode. First turn it off and follow the directions on the screen.

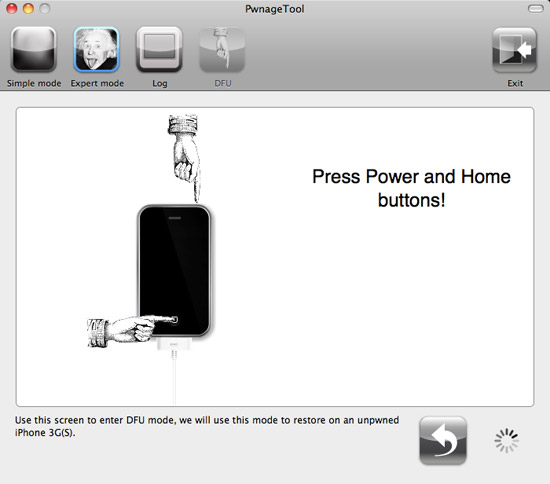
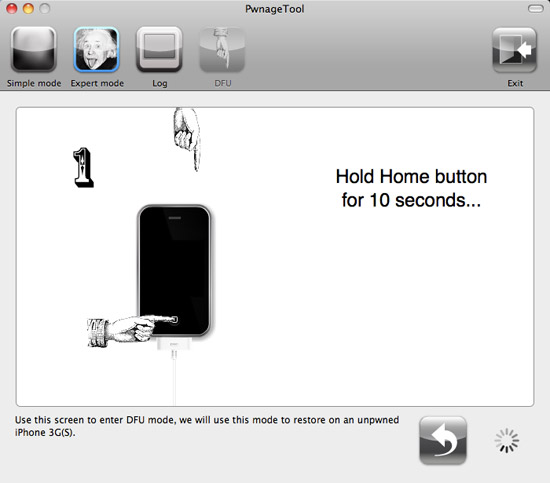
10. Once you are into DFU mode, open iTunes ( it will recognize a device in recovery mode ) , alt+restore and browse for the custom FW you just created. Wait for the restore
11. Congrats!!! You’re on a jailbroken 3.1.3 firmware now.
If you preserved the baseband you can install ulran0w via Cydia.
NOTE: when loading Cydia, choose the “Developers – No filters” mode and install the recommended updates. IF you didnt install it when creating the custom FW, install OpenSSH as well.
NOTE: IF on iPhone 3Gs, save your ECID certificate through the Cydia home screen. ( in case you didn’t save it by now )
NOTE: for those of you who used blackra1n in the past to unlock your iPhone, DO NOT update to 3.1.3. If you do, you won’t be able to use your iPhone anymore. Stay on 3.1.2. You don’t miss out on nothing.


