Warning: These are advanced instructions and are not suggested for beginners.
Prerequisites: You must be jailbroken on the iPhone 3.1.2 firmware. You need to have SSH installed and you need to know the IP Address of your device on the local network. Finally you will also need Fugu installed.
Step One
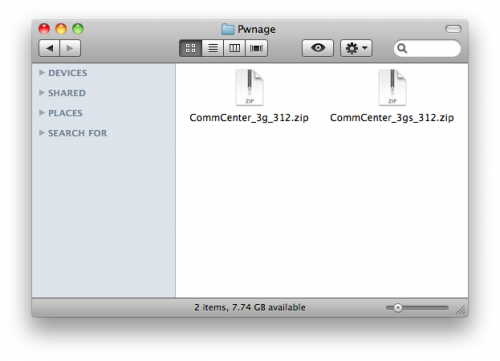
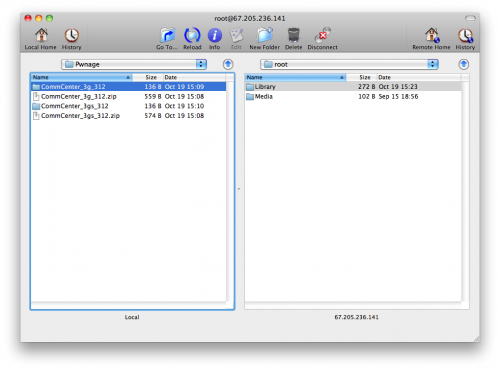
Create a folder on your desktop called Pwnage. In it place the patch file for your appropriate device. [3G] [3GS]
Step Two
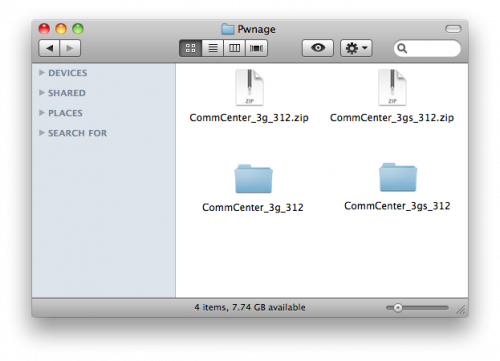
Double the download zip file to extract its contents. You will get a folder called CommCenter_3g_312 or CommCenter _3gs_312.
Step Three
Launch Fugu from your applications folder.
Step Four
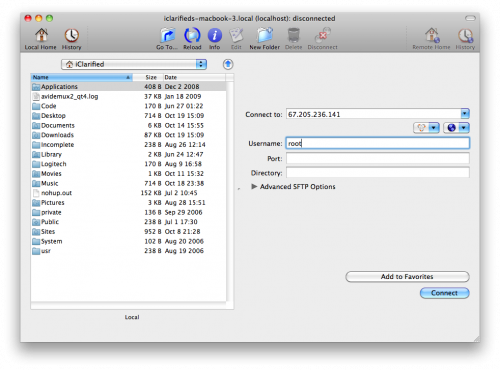
Input your iPhone’s IP Address in the Connect To: field and use root as the Username. Click the Connect button to continue. For this to work you must have SSH installed.
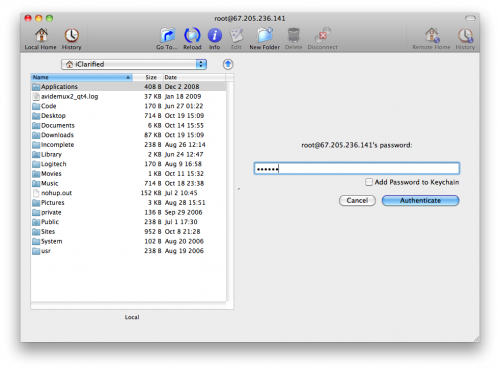
When prompted input alpine as the password then click the Authenticate button.
Step Five
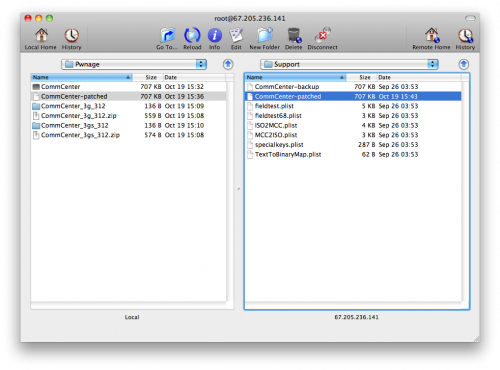
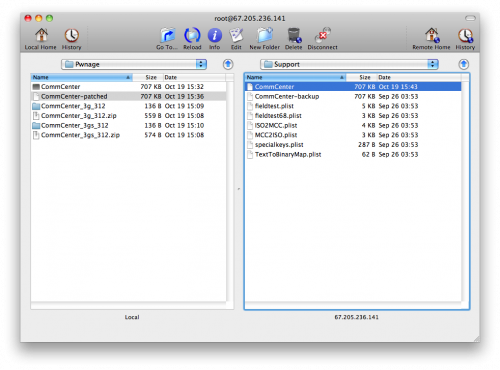
Once Fugu opens the directory contents of your device, use the left panel to navigate to the Pwnage folder on your desktop.
Next, click the Go To.. button on the toolbar.
Input /System/Library/PrivateFrameworks/CoreTelephony.framework/Support/ into the Go To field, selectRemotely, then click the Go button.
Drag the CommCenter file from the right panel into the left panel to copy it to your computer.
Step Six
Launch Terminal by double clicking it from the Applications:Utilities folder on your computer.
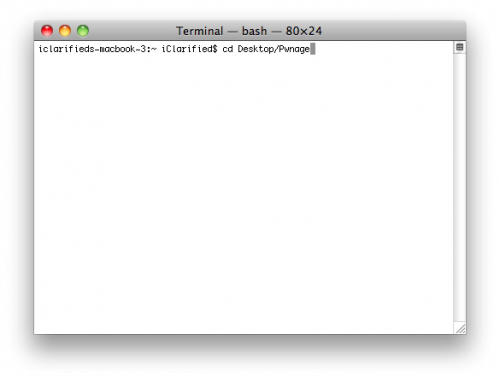
Execute cd Desktop/Pwnage to navigate to your Pwnage folder.
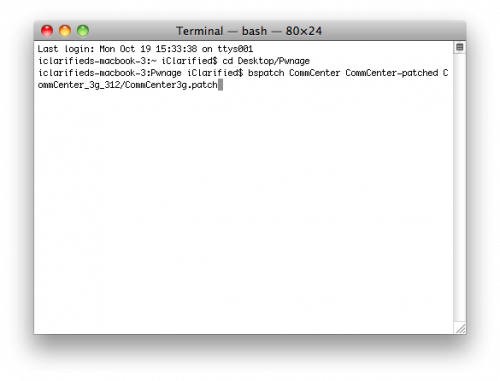
Execute bspatch CommCenter CommCenter-patched CommCenter_3g_312/CommCenter3g.patch to make a patched version of the CommCenter.
IMPORTANT: Remember to change 3g to 3gs if you have the iPhone 3GS. ie. bspatch CommCenter CommCenter-patched CommCenter_3gs_312/CommCenter.patch
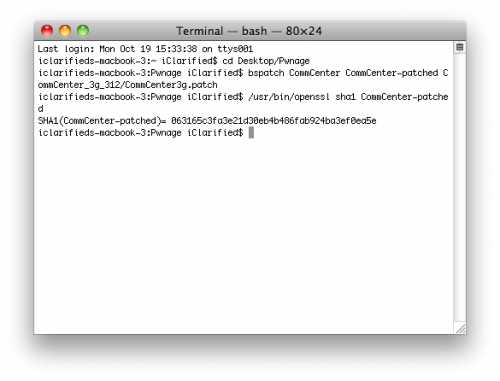
Now we need to confirm that the patched file was created successfully. Input this command into the Terminal window to check: /usr/bin/openssl sha1 CommCenter-patched.
Check your SHA1 with the correct ones below to make sure the patch occurred successfully. If it did not. Do not continue.
1b19712035f33654cf72838ebe1a2033931b56b2 # 3GS
063165c3fa3e21d30eb4b486fab924ba3ef0ea5e # 3G
Step Seven
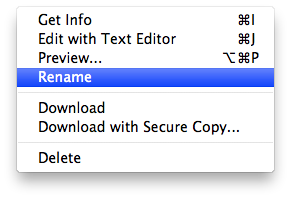
Return to Fugu and Control-Click CommCenter in the right panel. Select Rename from the contextual menu and rename the file to CommCenter-backup.
Click the Reload button on the toolbar if necessary then drag the CommCenter-patched file from the left panel to the right.
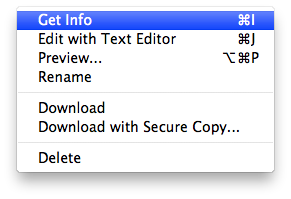
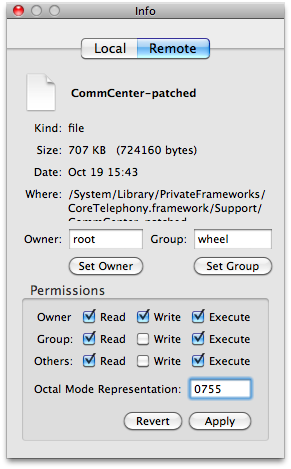
Control-Click the CommCenter-patched file from the right panel and select Get Info from the contextual menu. At the bottom of the Info window change the permissions to 0755 and click the Apply button.
Control-Click the CommCenter-patched file in the right panel and select Rename from the contextual menu. Rename the file to CommCenter.
Step Eight
You may now reboot your iPhone and you will be able to use Internet Tethering. You may need to follow this tutorial to apply the correct settings for your carrier.














Recent Comments